- For the Dark Souls variant, see Crystal Lizard.
- For the Dark Souls III variant, see Crystal Lizard (Dark Souls III).
Crystal Lizards are a non-hostile enemies in Dark Souls II. They act similarly to their counterparts from the previous game. If the player approaches a lizard, it will attempt to escape by any means, even by jumping off ledges and vanishing. They drop different forms of upgrade materials upon death and do not respawn.
In-Game Description
- A timid species of sparkling reptile cloaked in total mystery. These strange creatures possess a variety of useful, and valuable, stones. These creatures are not well understood, as the procurement of specimens for study is an all-but-futile endeavor; Crystal Lizards are masters of escape and have a marked tendency to do so before anyone can get close enough to catch them.[1]
General information[]
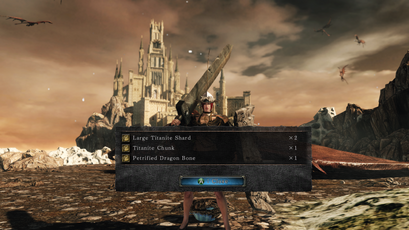
Unlike their previous game counterparts, whose loot was randomly selected from a set of drops, each Crystal Lizard in Dark Souls II has a single fixed drop. These drops most of the time include two or three types of upgrade materials and may have different quantities of each one. Furthermore, if a lizard manages to escape, they can be reset by resting at a bonfire, making it easier for the player to get all possible loot from them in areas where enemies abound (like in Dragon Aerie). Once slain, they won't respawn until the next New Game cycle, or when an ascetic is burned in the bonfire that governs them. However, if using a Bonfire Ascetic, they will not drop their loot again; only a New Game cycle will reset the loot.
Locations[]
- Forest of Fallen Giants
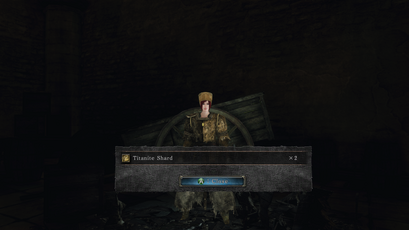
- Near the elevator leading to the Last Giant. Drops: 2 Titanite Shards. (Not in SotFS)
- Scholar of the First Sin: In the "locked" room above the Cardinal Tower bonfire. The door can be opened by either using the Soldier Key or simply brute-forcing through by hitting with a weapon. Drops: 2 Titanite Shards.
- No-man's Wharf
- In a skeleton-filled room behind a hidden wall, accessed through the room with poison jars. Drops: 2 Titanite Shards and 1 Large Titanite Shard.
- Huntsman's Copse
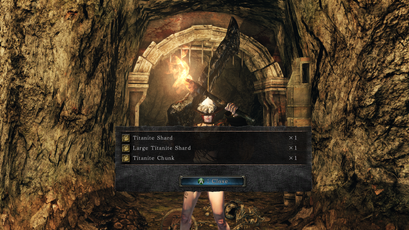
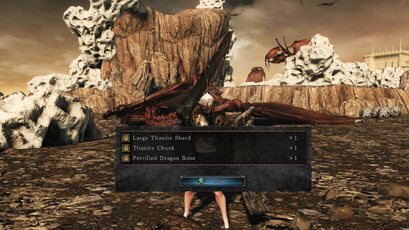
- Up a hill with a few Rogues, on the way to the Skeleton Lords. Drops: 1 Titanite Shard, 1 Large Titanite Shard and 1 Titanite Chunk. (Not in SotFS)
- Scholar of the First Sin: Near the gate in the cave before the Skeleton Lords, on the side closer to the boss room. Drops: 1 Titanite Shard, 1 Large Titanite Shard and 1 Titanite Chunk.
- Harvest Valley
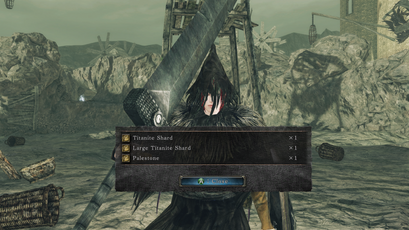
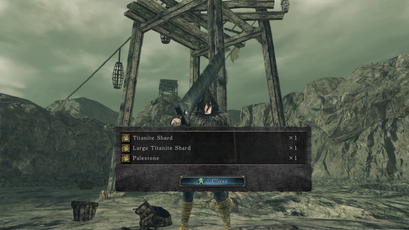
- To the left after exiting The Mines bonfire, after fighting the group of Artificial Undeads. Drops: 1 Titanite Shard, 1 Large Titanite Shard and 1 Palestone. (Not in SotFS)
- Scholar of the First Sin: 3 Crystal Lizards. In the open area after The Mines bonfire, one each at the left, front and right of the entrance. Total drops: 3 Titanite Shard, 3 Large Titanite Shard and 3 Palestone.
- Iron Keep
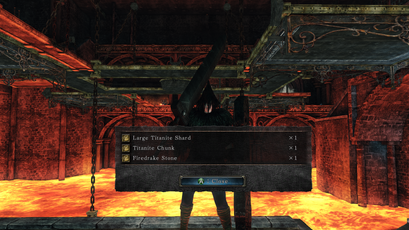
- On the leftmost corridor in the large room accessed after defeating the Smelter Demon and passing the Ironclad Soldier that breaks the bridge (can also be killed by the lava traps along said corridor if it flees over an active one). Drops: 1 Large Titanite Shard, 1 Titanite Chunk and 1 Firedrake Stone.
- Shaded Woods
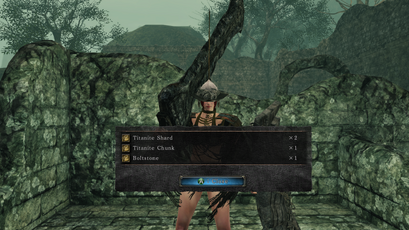
- Near the chest contains a Dark Scythe located close to Manscorpion Tark. Drops: 2 Titanite Shards, 1 Titanite Chunk and 1 Boltstone.
- Doors of Pharros
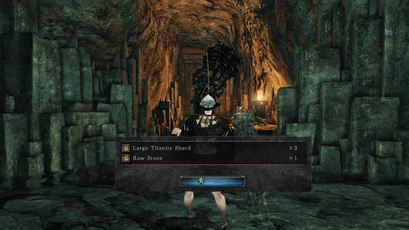
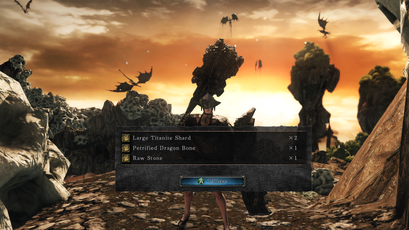
- Past Lonesome Gavlan and the throwing-axe Gyrm Warrior leading out to Brightstone Cove Tseldora. Drops: 3 Large Titanite Shards and 1 Raw Stone.
- Brightstone Cove Tseldora
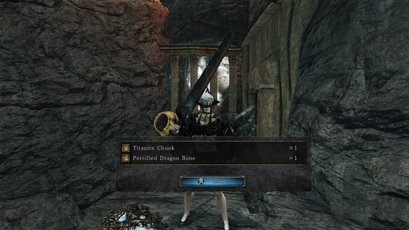
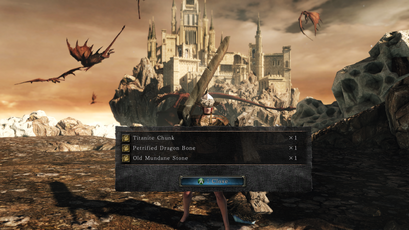
- First Lizard: Near the Chapel Threshold bonfire, on a ledge right above the giant sand vortex. Drops: 1 Titanite Chunk and 1 Petrified Dragon Bone.
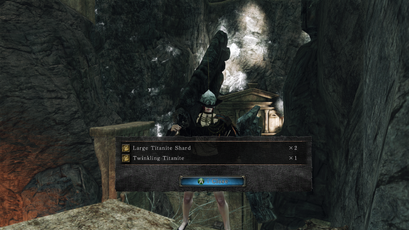
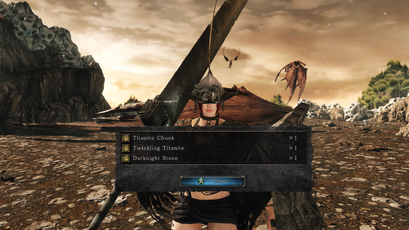
- Second Lizard: Walk through the hole in the wall in the room where Mild-Mannered Pate and Creighton of Mirrah fight, continue down the path until you see the first Parasitized Undead and the Crystal Lizard is immediately to the right. Drops: 2 Large Titanite Shards and 1 Twinkling Titanite.
- Grave of Saints / The Gutter
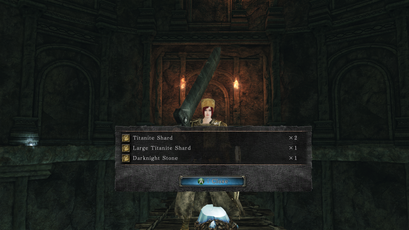
- On a bridge above some exploding Undead Citizens. Drops: 2 Titanite Shards, 1 Large Titanite Shard and 1 Darknight Stone.
- Drangleic Castle
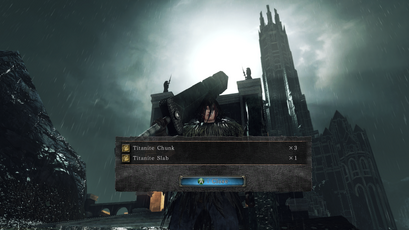
- Just before meeting up with the Emerald Herald at the bridge to Drangleic Castle and after defeating the first 3 Royal Swordsmen on the way to the castle. Drops: 3 Titanite Chunks and 1 Titanite Slab.
- Dragon Aerie
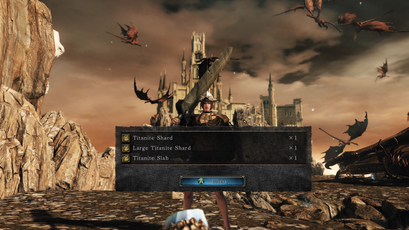
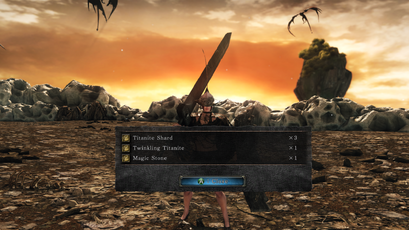
- First Lizard: After the first Undead Citizen and before the first dragon, in the tunnel area near some eggs. Drops: 1 Large Titanite Shard, 1 Twinkling Titanite and 1 Palestone.
- First Dragon Area - 5 Crystal Lizards: 4 scattered around the Dragon's ground, 1 in a cave located on a high ledge above the Dragon.
- Total drops: 1 Titanite Shard, 5 Large Titanite Shards, 4 Titanite Chunks, 1 Titanite Slab, 1 Twinkling Titanite, 3 Petrified Dragon Bone, 1 Raw Stone, 1 Darknight Stone and 1 Old Mundane Stone.
- Second Dragon Area - 3 Crystal Lizards, scattered around the Dragon's ground.
- Total drops: 6 Titanite Shards, 1 Large Titanite Shard, 1 Titanite Chunk, 1 Twinkling Titanite, 1 Petrified Dragon Bone, 1 Magic Stone and 1 Faintstone.
- Third Dragon Area - 2 Crystal Lizards: one on a ledge above the Dragon, one near the eggs on the Dragon's ground.
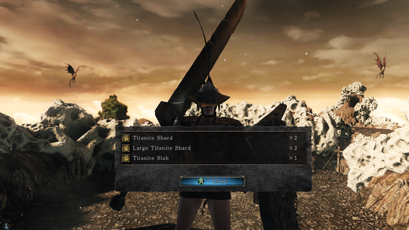
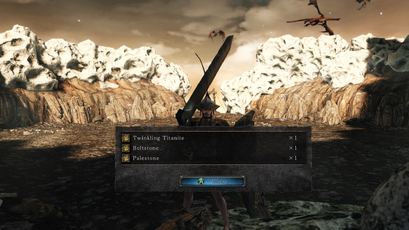
- Total drops: 2 Titanite Shards, 2 Large Titanite Shards, 1 Titanite Slab, 1 Twinkling Titanite, 1 Boltstone and 1 Palestone.
- Dragon's Sanctum
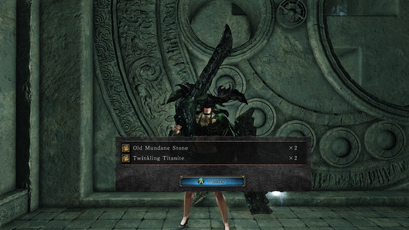
- 4 Crystal Lizards. Located above the giant rotating contraption next to the first Drakeblood Knight. Total drops: 4 Twinkling Titanite, 2 Old Mundane Stones, 2 Petrified Dragon Bones, 2 Titanite Chunks, 2 Raw Stones, 2 Firedrake Stones, 1 Titanite Slab and 2 Faintstones.
- Unlike other Crystal Lizards, these 4 will not move at all until either the bigger hole of the contraption is fully rotated upward, or the player attacks any of them. Since this contraption is also the only one that doesn't rotate 90 degrees on each activation, it is possible for the player to enter where they are (by standing in the bigger hole and have it only rotated to the upper-left/right side instead) and physically push them via walking/running without having them running away.
- 4 Crystal Lizards. Located above the giant rotating contraption next to the first Drakeblood Knight. Total drops: 4 Twinkling Titanite, 2 Old Mundane Stones, 2 Petrified Dragon Bones, 2 Titanite Chunks, 2 Raw Stones, 2 Firedrake Stones, 1 Titanite Slab and 2 Faintstones.
- Brume Tower
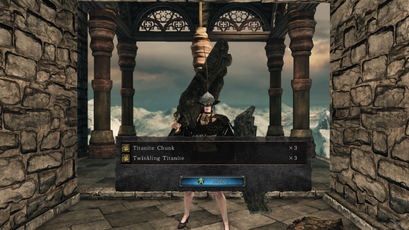
- From the Foyer bonfire, in a curved corridor after riding the elevator up and jumping off of it at the first floor the player comes across. Drops: 3 Titanite Chunks and 3 Twinkling Titanites.
Strategy[]
Crystal Lizards usually have high amounts of HP and sometimes may require more than one hit to kill. They usually dwell at plain sight, however, allowing players to plan a strategy before attempting to hunt them. Approaching them from the rear is not recommended, as the lizard will just start moving in the direction it's already facing, most likely outrunning the player and succeeding in their escape. If there's no other option than to approach them from behind, though, the player should try to make them either run into a wall or a dead end if possible.
On the other hand, if approached from the front, the lizard will first have to slowly turn around before attempting to escape, giving the player ample time to slay it.
If a lizard is far away but already facing at the player's direction, thus giving it enough time to turn around and escape before the player can even make it to their location, a good strategy is to shoot them with a ranged attack (e.g.: an arrow); this will make the lizard to start running forward and toward the player's location, making it easier to finish it.
Red Crystal Lizards[]
- Main article: Red Crystal Lizard
Unlike their blue counterparts, Red Crystal Lizards may explode when approached or attacked. They don't drop any items upon death and only appear as minor hindrances to the player. They won't respawn once slain and the player may opt to kill them as soon as possible to remove the threat they impose from the map.
Guide[]
This guide refers to the Scholar of the First Sin version of Dark Souls II. It lists all Crystal Lizards appearing in the game and the loot dropped by each one. Some locations may differ from the original game.
Secret room behind a breakable wall in the same building that has many poison-filled urns scattered about.
Corridor connecting the two main sections of the cave inhabited by Skeletons and Necromancers.
Second lizard found in the open area after the Mines bonfire.
Third lizard found in the open area after the Mines bonfire.
Lizard found at the leftmost corridor of the big room flooded with lava.
At the middle of the high pathway that leads from Doors of Pharros to Brightstone Cove Tseldora.
To the right, just after coming out of Pate's house by the lower floor exit.
Big hall found at the bottom of Majula's pit and which leads from the Grave of Saints to the Gutter.
Just as the player first arrives to Drangleic Castle after opening the Shrine of Winter.
Second lizard found in the first Guardian Dragon area, near to some dragon eggs.
Third lizard found in the first Guardian Dragon area, behind and to the right of the dragon.
Fourth lizard found in the first Guardian Dragon area, sheltered under the dragon itself.
Fifth lizard found in the first Guardian Dragon area, in a little cave located on a high ledge, along with two Undead Citizens.
First lizard found in the second Guardian Dragon area, just to the right as one enters this location.
Second lizard found in the second Guardian Dragon area, near the left wall as one enters this location.
Third lizard found in the second Guardian Dragon area, sheltered behind the dragon itself and near a cave that connects to the third Guardian Dragon area.
First lizard found in the third Guardian Dragon area, on one of the ledges the player must drop down onto.
Second lizard found in the third Guardian Dragon area, next to some dragon eggs.
Second lizard found in the same room where the first Drakeblood Knight attacks.
Third lizard found in the same room where the first Drakeblood Knight attacks.
Fourth lizard found in the same room where the first Drakeblood Knight attacks.
Lizard found in a curved corridor after riding the elevator up and jumping off of it at the first floor the player comes across.
Notes[]
- If the player dies after killing a Crystal Lizard but before picking up its loot, the loot will disappear and the lizard won't respawn.
References[]
- ↑ Dark Souls II Collector's Edition Guide description.

